Last updated November 22, 2026
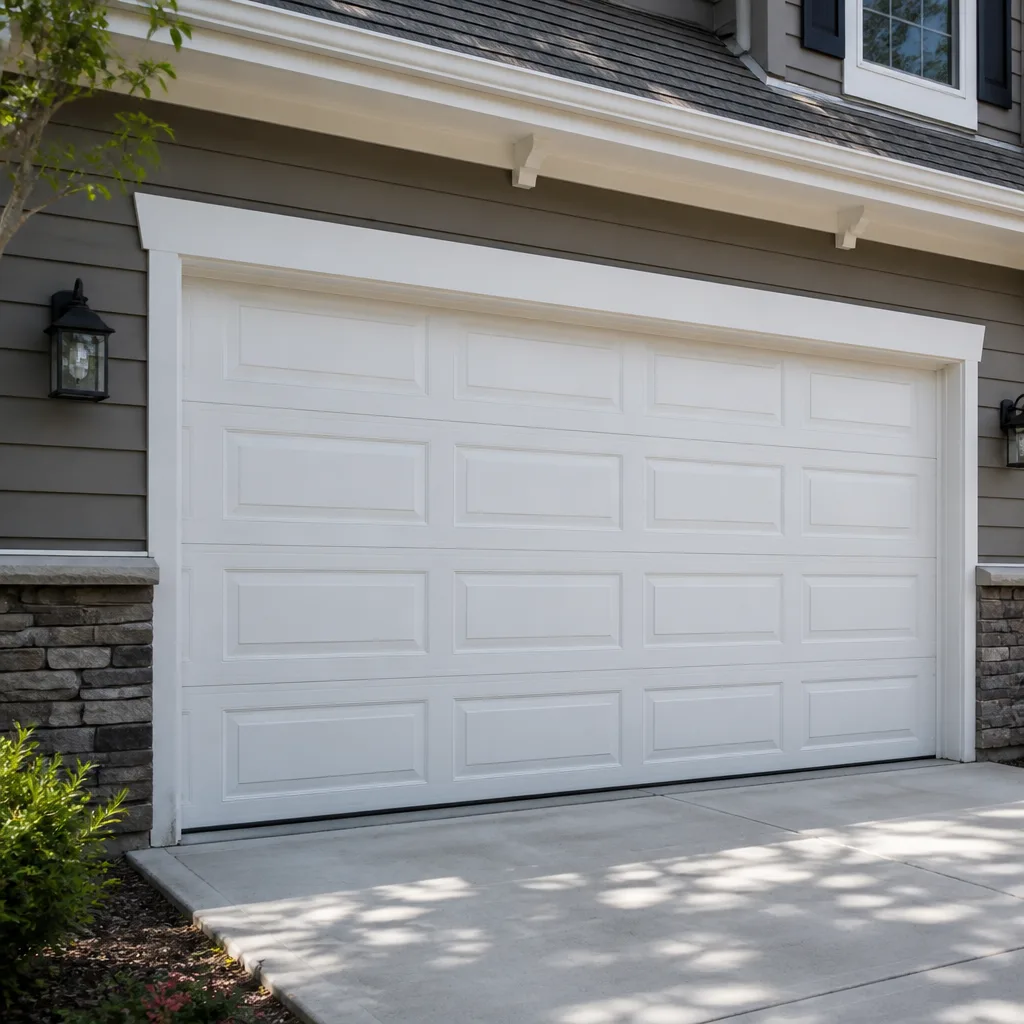 Raised-panel steel
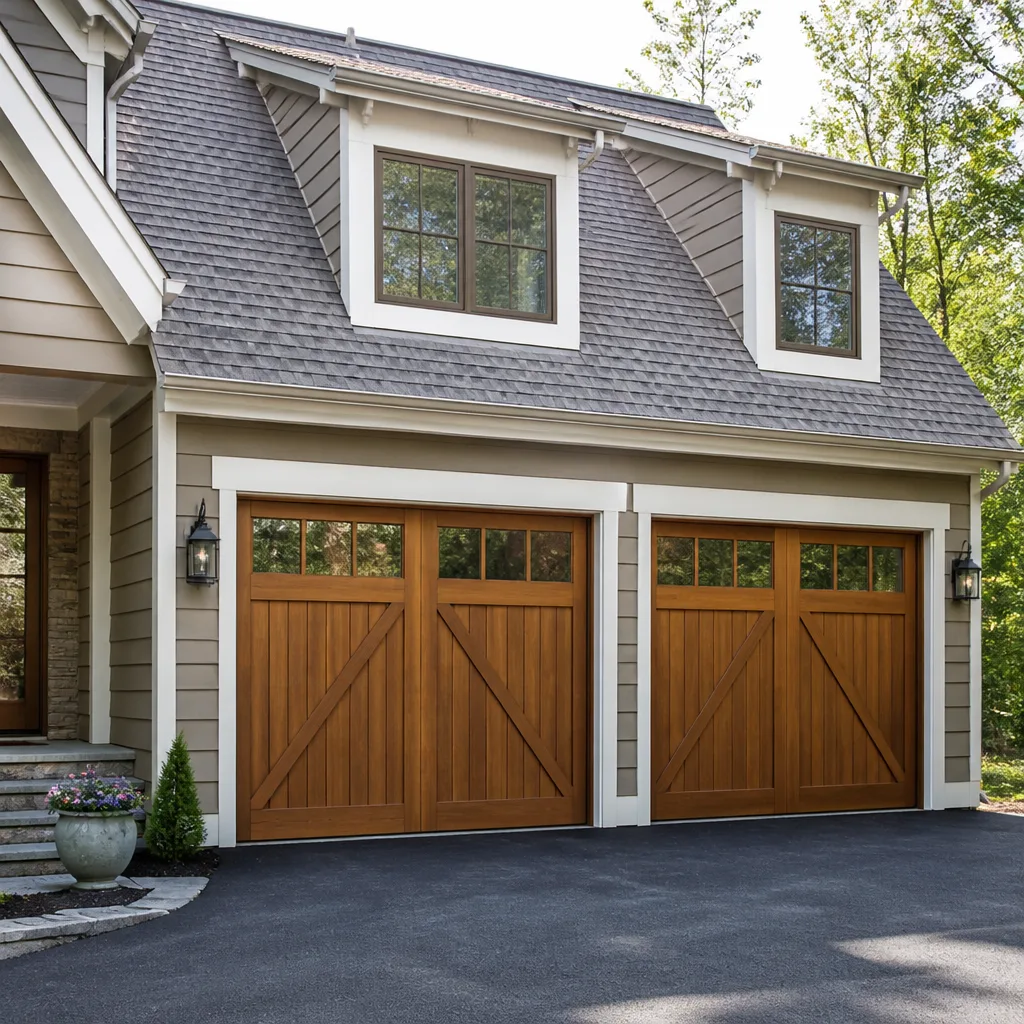 Carriage house
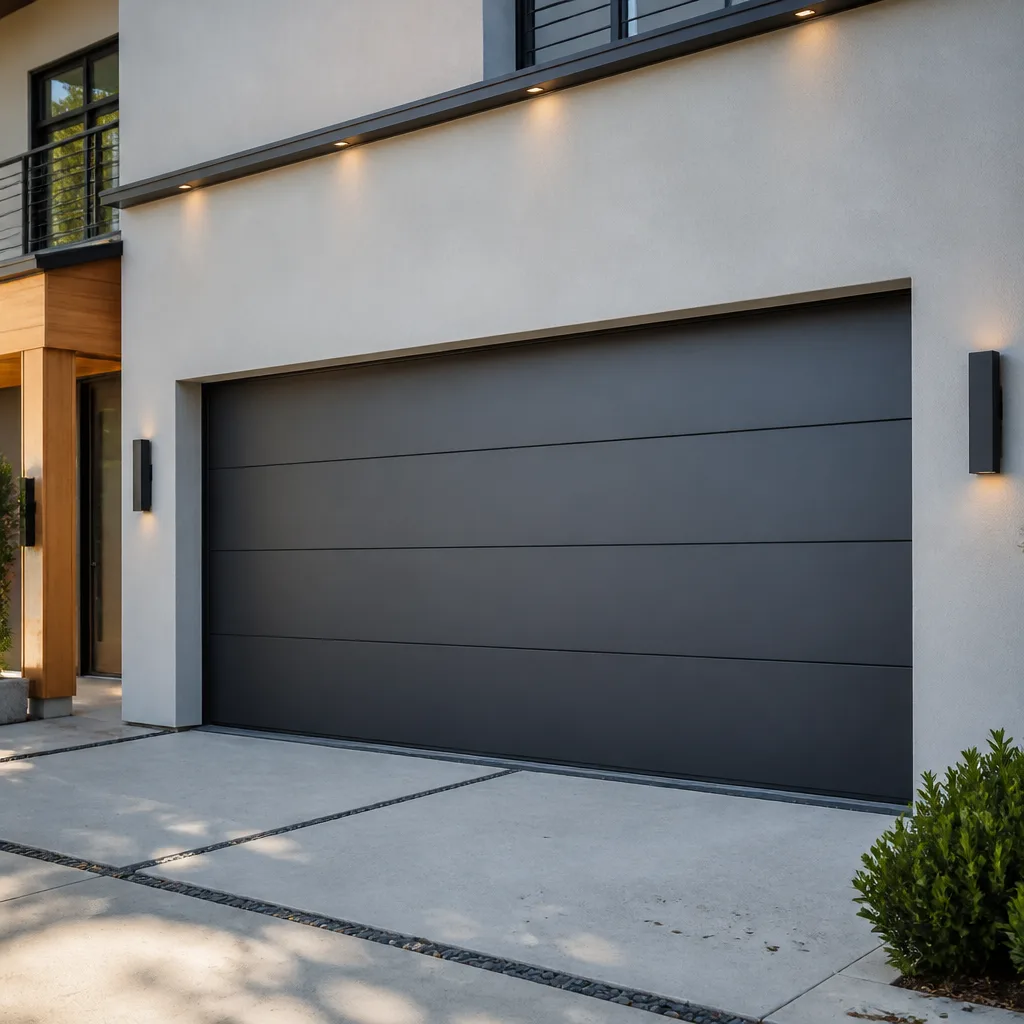 Modern flush
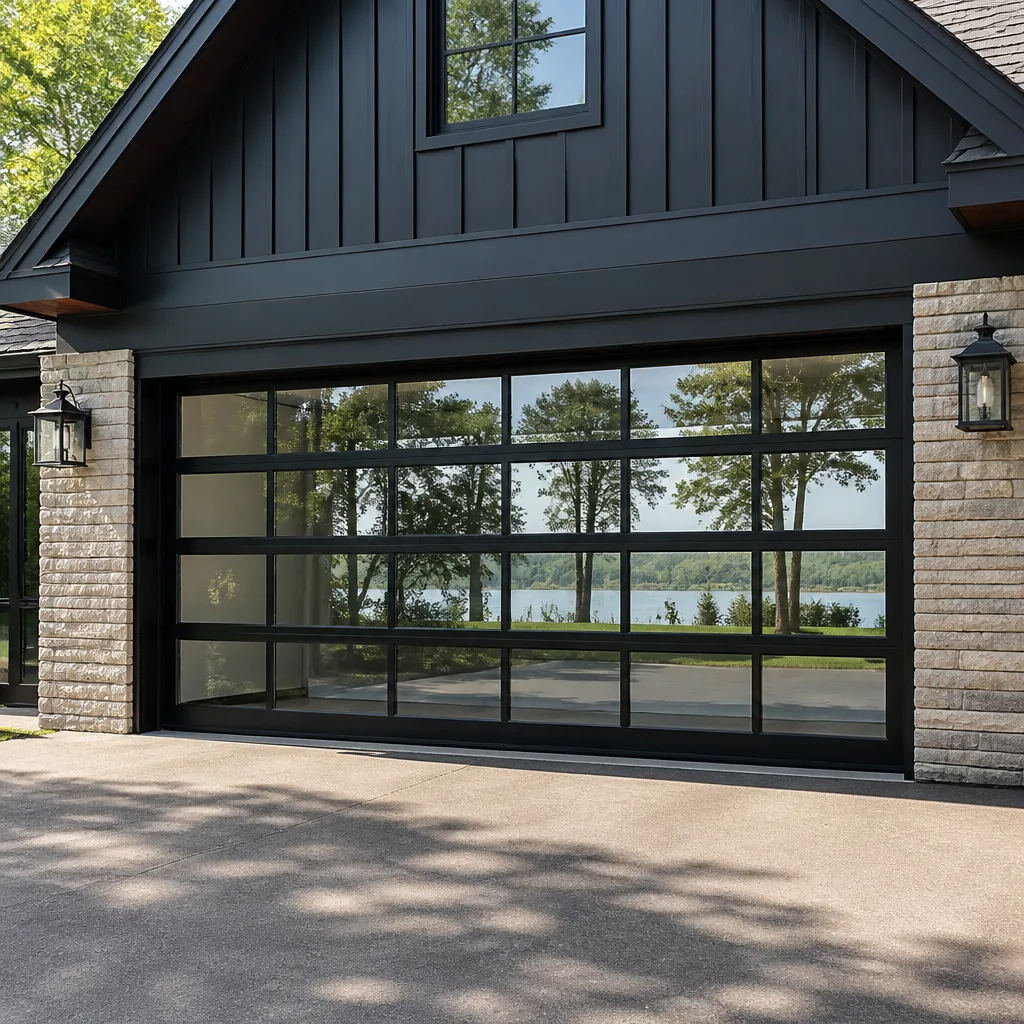 Full-view glass
 LiftMaster openers
 Chamberlain openers
Full 25-point door and opener safety check with every visit - springs, cables, rollers, tracks, and your LiftMaster or Chamberlain opener included
You get a price before we start. It does not change when the pro arrives.
Get your free estimateGarage Door Repair Troubleshooting in Fall River: Common Problems and How to Fix Them
Most garage doors don’t fail out of nowhere. They fail after weeks of signals the homeowner walked past without knowing what they were looking at. A grind that shows up only in cold weather. A door that reverses a few inches off the floor. A popping noise that comes and goes. These are early warnings, and they map to specific parts. Learning to read them turns a panicked call into a planned repair, and sometimes into a ten-minute fix you can do yourself. This guide maps symptoms to root causes so you know what you’re dealing with, what you can safely check, and when to stop and hand it to a technician. We work on Fall River doors daily, and the same six failure patterns show up over and over.
Quick Answer
Most garage door problems fall into six categories: spring failure, cable failure, track and roller wear, opener drive faults, sensor and safety-reverse issues, and panel or structural damage. You can safely diagnose several of them yourself with a manual disconnect and a balance test. Spring, cable and opener board work should always go to a trained technician because of injury risk and warranty concerns. In Fall River, the diagnosis usually starts with the door’s age, the noise it makes, and whether it’s balanced when disconnected from the opener.
Styles & brands we work with
- Raised-panel steel
- Carriage house
- Modern flush
- Full-view glass
- LiftMaster openers
- Chamberlain openers
Table of Contents
- Start With the Symptom, Not the Part
- What the Noise Tells You
- The Balance Test and Other Safe Checks
- Spring Failure: The Most Common and Most Dangerous
- Opener Faults: Board, Motor, or Capacitor
- Door Stops Short: Limit Switch vs. Trolley Carriage
- How Fall River Weather Accelerates Wear
- Sensors and Safety Reverse
Start With the Symptom, Not the Part
Troubleshooting works backward. You observe a symptom, then narrow to a system, then to a component, then to a part. Homeowners who skip the first two steps end up replacing an opener when the actual problem was a worn roller or a misaligned track. We see this every week in Fall River: a new opener bolted onto a door that still binds because nobody checked the torsion assembly first.
Here’s the system map for a standard residential garage door:
- Counterbalance system – springs, cables, drums, and the torsion bar or extension springs. This carries the door’s weight.
- Travel system – tracks, rollers, and hinges. This keeps the door on its path.
- Drive system – the opener motor, rail, trolley, and belt or chain. This moves the door.
- Safety system – the photo-eye sensors and the force-setting on the opener. This stops the door on an obstruction.
Every symptom points to one of these four. A door that opens fine but won’t close is almost never a counterbalance problem. A door that’s heavy to lift by hand is almost never an opener problem. Getting the system right first saves money and time.
If you’re already past diagnosis and know you need a technician, our garage door repair page covers what a service call involves and how we schedule it.
What the Noise Tells You
Noise is the single most informative symptom a garage door gives you, and the type of noise matters more than the volume. Grinding, popping, and scraping each point to a different component. Listening carefully before you call saves a diagnostic step.
Grinding is almost always metal-on-metal contact. In most cases it’s a dry or seized roller, a bent track, or a torsion drum that’s rubbing. If the grind starts as the door reaches a certain height, the track is likely the culprit at that point in travel. A grinding noise that shows up in cold weather and disappears in summer often points to a roller bearing that’s lost its grease and contracts in the cold.
Popping is usually a torsion spring problem. A spring that’s about to fail makes a sharp pop as a coil shifts, or as one of the two springs in a matched pair takes over the full load from a broken partner. A single loud pop followed by a door that won’t lift is the classic spring-snap pattern. Call us and stop using the door.
Scraping is friction, not impact. Look at the gap between the door panel and the frame. A panel that’s bowed, a hinge that’s bent, or a roller that’s come out of its track will scrape the jamb on the way up or down. Scraping near the floor often means a bottom seal or bracket issue.
Rattling or squeaking is usually hardware, not a major failure. Loose hinge bolts, dry rollers, and worn nylon rollers make noise without threatening the door. These are safe to address and often improve on their own with lubrication.
The Balance Test and Other Safe Checks
Some diagnostic tests are safe for a homeowner and some are not. The balance test is the most valuable safe test, and it tells you whether the counterbalance system is doing its job. Run it with the door closed and the opener disengaged.
- Pull the manual release cord (usually red, hanging from the trolley) to disconnect the opener from the door.
- Lift the door by hand to about waist height and let go. A properly balanced door stays put.
- Lift it to shoulder height and let go. It should stay, or drift slowly down.
- Lift it to fully open and let go. It should stay up and not fall.
If the door drops hard on release, the springs have lost tension or one of a matched pair has broken. If the door is very hard to lift, the springs are over-tensioned or the tracks are binding. Don’t try to adjust spring tension yourself. That’s the line between safe diagnosis and serious injury.
Other safe checks:
- Look at the photo-eye sensors at the bottom of each track. The LED should be lit and steady on both. A blinking LED means misalignment or an obstruction.
- Push the safety reverse test: place a roll of paper towels on the floor in the door’s path and close the door. It should reverse on contact.
- Inspect the tracks visually for dents, bends, or debris. Run a rag along the inside curve to feel for rough spots.
- Check that the door closes fully and seals against the floor without a gap at either corner.
Checks that require a technician: any spring or cable adjustment, opener circuit board testing, and anything that involves loosening a torsion bar or drum. Those have specific injury risk and get handled with proper tools and the door restrained.
Spring Failure: The Most Common and Most Dangerous
Springs carry the entire weight of the door. When one fails, the door becomes dangerous to operate and can drop without warning. The signs are specific enough to catch before a full break in most cases, and catching them early is one of the reasons our garage door spring repair calls usually go the same day.
Early signs of spring wear:
- A visible gap in a torsion spring coil, or a spring that looks stretched compared to its partner.
- Loud popping or banging when the door is moving.
- A door that suddenly feels twice as heavy to lift by hand.
- The opener straining or making a different sound in the first few inches of lift.
- A door that reverses or stops partway up and won’t continue.
Torsion springs are mounted on a bar above the door and hold stored energy even when the door is closed. Extension springs run along the horizontal tracks and can snap toward a person. Neither is a homeowner repair. The tools alone (winding bars sized to the spring) and the knowledge of how many turns the spring needs are things a trained technician brings to the job.
When we replace a torsion spring, we check the partner spring. If they were installed together and one has snapped, the other is at the same wear point and usually fails within weeks. Replacing a matched pair at once avoids a second service call and a second round of downtime. That’s part of why the written estimate sometimes looks higher than a single-spring quote: it’s covering the pair the door actually needs.
For a full explanation of the parts and what a spring replacement involves, our team at Fall River Garage Door Repair Co lays out the process on the homepage.
Opener Faults: Board, Motor, or Capacitor
When an opener stops responding, the instinct is to replace the whole unit. In our experience, that’s often unnecessary. The three most common opener faults are a failed capacitor, a failed logic board, and a motor that’s actually worn out. Each presents differently, and each has a different cost implication.
Motor faults show up as a humming sound with no door movement, or movement in one direction only. A motor that hums but doesn’t turn is often a seized bearing or a stripped drive gear, which on belt and chain openers shows up as a shredded gear inside the housing. This is a mechanical failure and usually means the opener needs refurbishment or replacement.
Board faults usually show as erratic behavior: the door stops at random heights, the remote works intermittently, or the wall button works but the remotes don’t. Board symptoms are the hardest to diagnose without a meter because the same symptoms can come from a bad wall console or a failing travel limit switch. We test each component separately.
Capacitor faults are the sneaky ones. A failed run capacitor makes the motor hum and stall, and the symptom looks identical to a seized motor. On LiftMaster and Chamberlain units, a capacitor replacement is a small cost compared to a new opener. On Genie and Craftsman units, the same pattern applies. Before approving a new opener, we test the capacitor and the motor separately. In our experience, at least half the “dead opener” calls we get turn out to be a capacitor.
If you have a specific brand and it’s acting up, our garage door opener repair page covers the diagnostic path for each major unit.
Door Stops Short: Limit Switch vs. Trolley Carriage
This is the most misdiagnosed problem in the trade. A door that opens partway and stops, or closes partway and reverses, can have either a limit switch problem or a trolley carriage problem. Both look the same from the outside. Only one is a homeowner diagnosis, and neither should be a homeowner repair unless you’re comfortable with the encoder assembly.
Limit switch symptoms: the door stops at the exact same height every time, in the same direction. If it consistently stops at 4 feet on the way up, that’s the open limit. If it stops at the same spot on the way down, that’s the close limit. The fix is a travel adjustment on the opener, done from the control panel or the wall console. On most openers, you can adjust the travel within a set range, but if the door has to travel past that range, the limit switch itself needs repositioning on the rail – a job for a technician because it involves freeing the carriage from the rail.
Trolley carriage symptoms: the door stops at inconsistent heights, or the opener engages for a moment then releases and the door coasts. That’s the carriage slipping on the rail or the release mechanism not fully re-engaging after a manual release. A carriage that’s not fully re-engaged after a power outage is a common one. Pull the release cord, run the opener once, then reconnect the carriage. If it still slips, the carriage or the belt needs attention.
Force-setting symptoms: the door reverses immediately after starting to close, most often near the floor. That’s usually the force sensitivity on the opener being set too tight, or the safety reverse system triggering on a slightly uneven floor. It can look exactly like a limit problem on a door that’s not perfectly level. Check the sensors first, then the force adjustment.
How Fall River Weather Accelerates Wear
Fall River’s climate is harder on garage door hardware than the state average. Wide swings between humid summer air and freezing winter mornings work on metal parts in a specific way, and it shows up in the wear patterns we see across the city.
The first effect is on springs. Humidity doesn’t just rust the exterior of a torsion spring; it works on the inner coils, where the finish is stressed by winding. A spring that sits in a damp garage through a wet summer and then cycles in cold air gets stress corrosion at the coil surfaces. That’s why we see more spring failures in Fall River in late winter and early spring than in the middle of summer. The spring has been quietly degrading for months and fails when the temperature drops and the metal contracts.
The second effect is on cables. Cable strands are galvanized, but the drums and the cable ends are not, and those are where a rusted cable fails. A cable that’s showing rust on the drum end is a cable that’s lost strength at the most loaded point. When we service a door in the Highlands or along the South Main Street corridor, we check the drum ends first.
The third effect is on the door hardware. Hinges, rollers, and track brackets cycle through expansion and contraction and work themselves loose over a season. Bolts that were snug in October are often a quarter turn loose by April. That’s the reason a door that was quiet last year develops a rattle this year. Checking and tightening the hardware is a safe homeowner task, and it’s worth doing once before winter and again in spring.
For doors on the north side of a house, or in an unheated detached garage, the metal stays colder and stays damp longer. Those doors wear faster than a door in an attached, heated garage. If your Fall River garage is unheated, expect spring and cable wear to happen sooner than the manufacturer’s typical recommendation.
Sensors and Safety Reverse
Photo-eye sensors are the most common cause of “the door won’t close” calls, and they’re the easiest thing to check yourself. The sensors are the two small units at the bottom of each track, one sending an infrared beam and one receiving it. If the beam is broken, the opener won’t close the door.
Check these in order:
- Look at the LED on each sensor. Both should be lit and steady. A flickering or dark LED indicates the problem.
- Wipe the lenses with a soft cloth. Dust and cobwebs are enough to break the beam.
- Check for anything in the path – a bike, a bag of salt, a snow shovel leaning against the track.
- Look at the alignment. The two sensors should point at each other at the same height. A bumped track can knock one out of line.
- Check the wiring where it enters the sensor. A loose wire at the terminal is common after a cold winter.
The safety reverse test is separate. With the door closed, place a roll of paper towels in the path and press the close button. The door should contact the obstruction and reverse within a couple of inches. If it doesn’t, the force setting is too high or the reverse mechanism is failing. That’s a safety issue and worth a same-day call – the door is a hazard to anyone, including a child or pet, who walks under it while it’s closing.
If the door won’t close and the sensors are lit, look at the wall console. A stuck button on the console sends a continuous signal that overrides the close command. Unplug the opener for 30 seconds, plug it back in, and try again. If the door closes after the reset, the console is the likely culprit.
Common Mistakes to Avoid
- Replacing the opener when the springs are the problem. A new opener on a door with weak springs will fail within months. Diagnose the balance first, then the opener.
- Adjusting torsion springs by hand. This is the single most dangerous DIY repair in home maintenance. The stored energy in a wound torsion spring can cause serious injury. Leave it to a technician with the correct winding bars.
- Ignoring a matched-pair spring replacement. Replacing only the broken spring leaves the second one at the same wear point. It usually fails within weeks, and you pay for two service calls instead of one.
- Oiling the tracks. Track lubrication attracts dust and grit and turns into a grinding paste. Lubricate the rollers and hinges, not the tracks. The tracks should be clean and dry.
- Assuming a blinking sensor is a sensor problem. Misalignment is the most common cause, but bad wiring at the terminal and a failing sensor unit look identical. Test with a swap before you buy a replacement.
- Adjusting the force setting to fix a door that won’t close. If the door reverses, the force setting is the last thing to touch, not the first. A door that’s binding or has a worn roller needs the mechanical fix first.
- Using a shorter or longer spring than the door calls for. Springs are matched to the door’s weight by wire gauge and inside diameter. A mismatched spring damages the opener and shortens the life of the door hardware.
See the difference
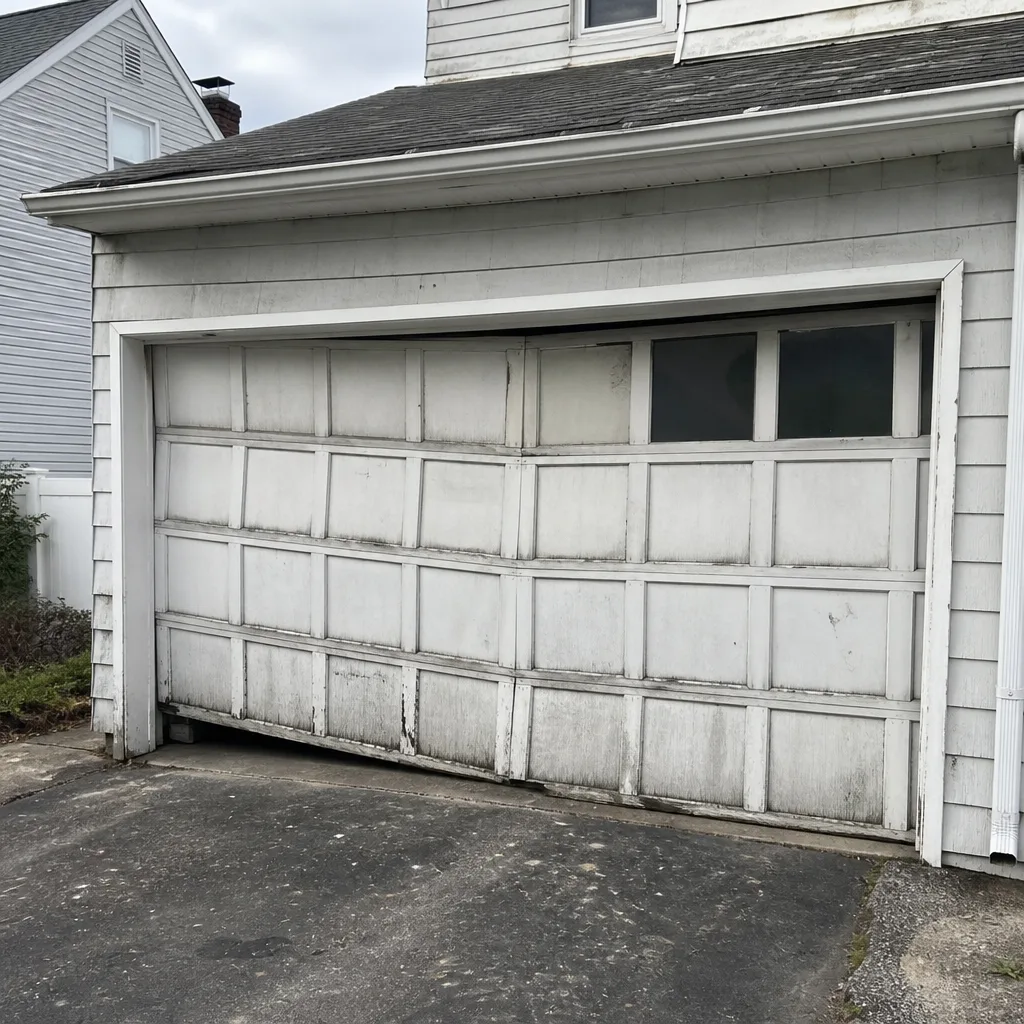 Before
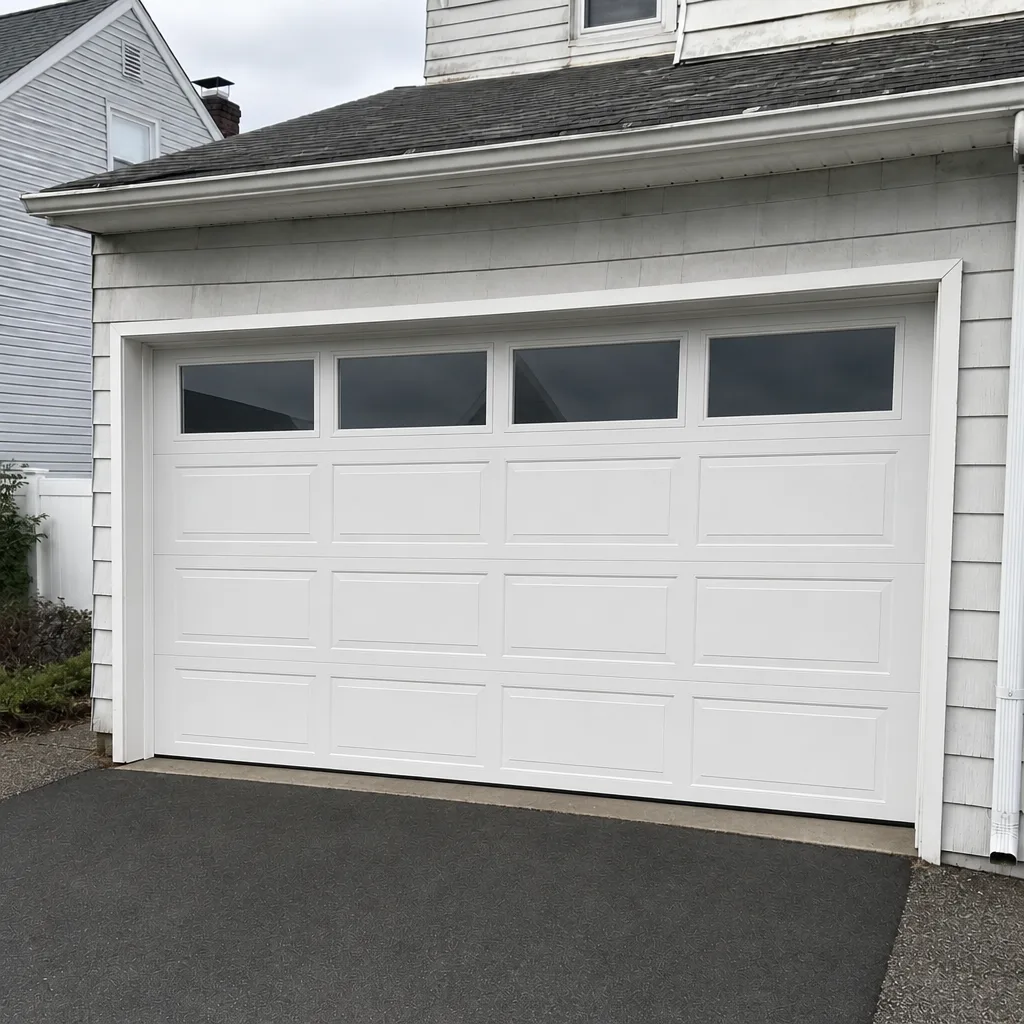 After
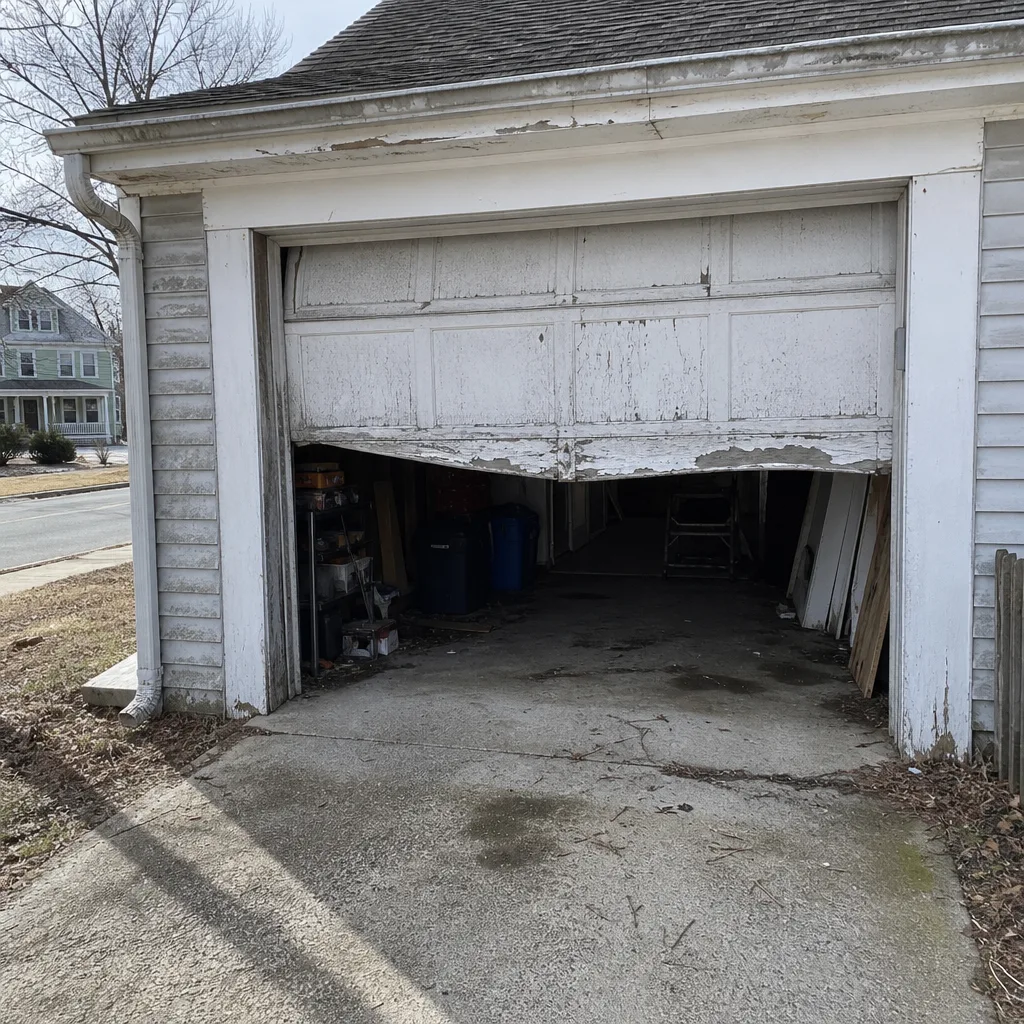 Before
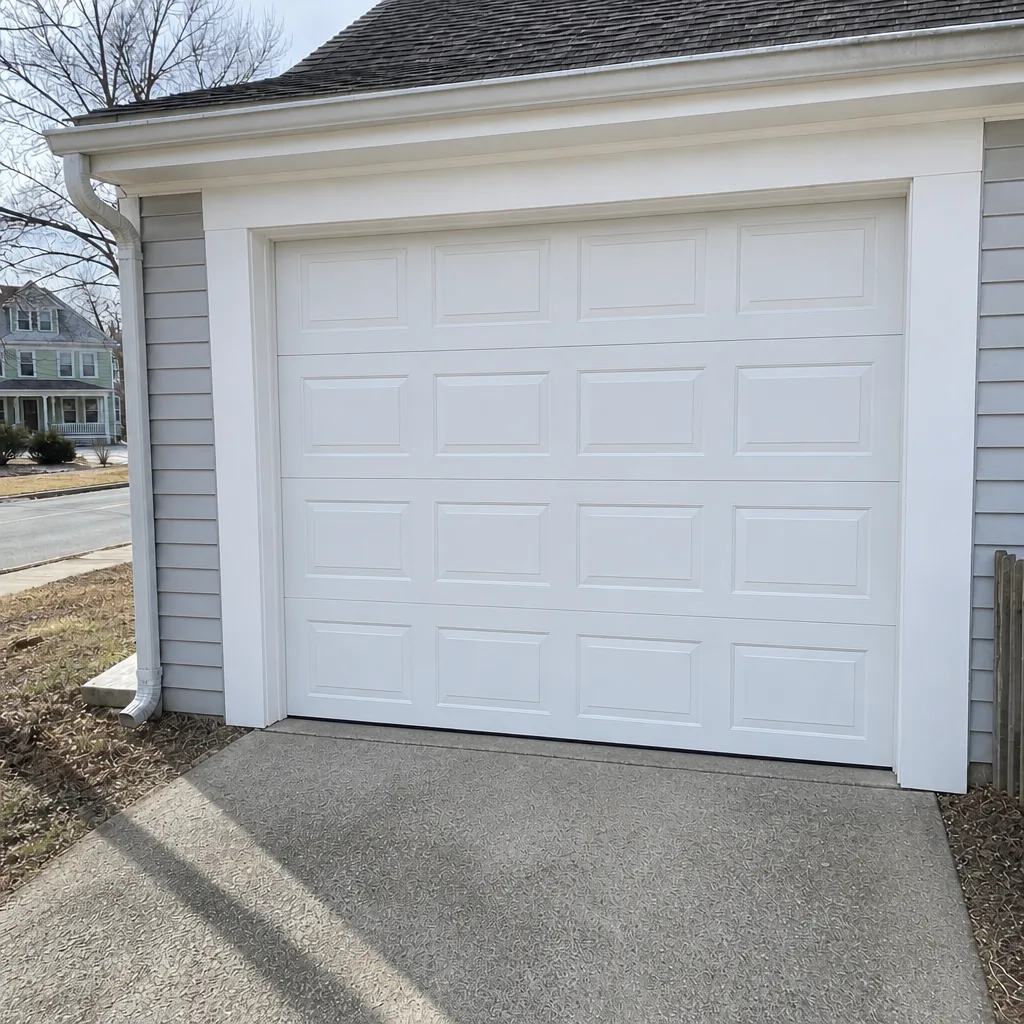 After
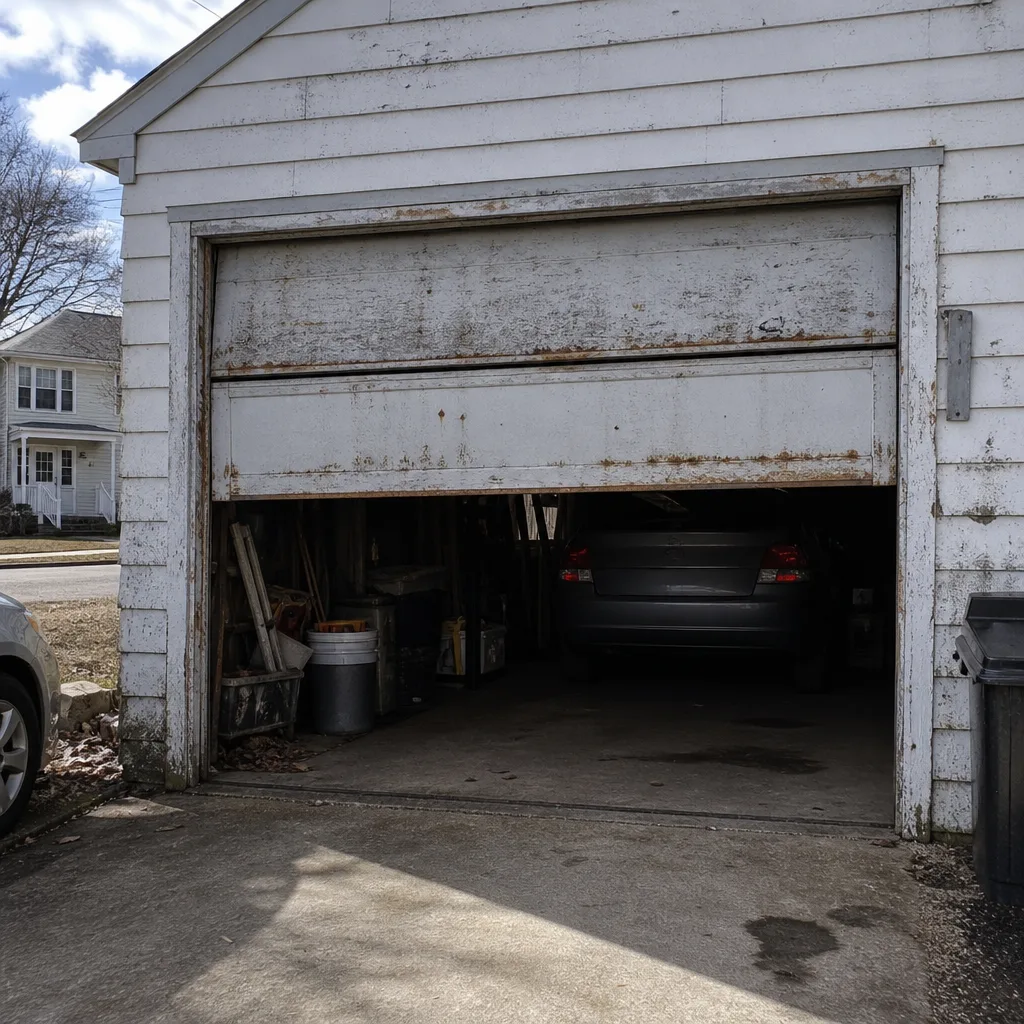 Before
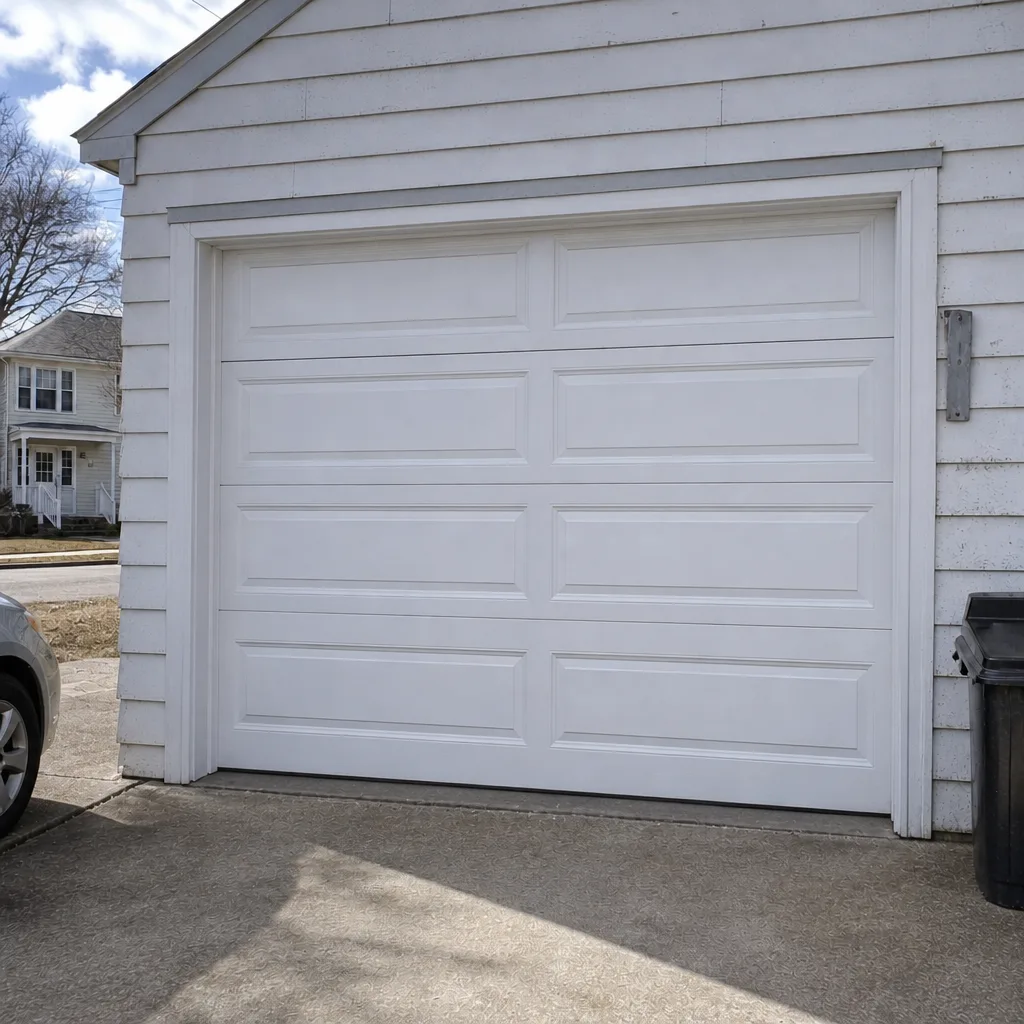 After
When to Call a Professional
Call a technician for any spring or cable problem, any opener fault that involves the logic board or capacitor, and any door that isn’t balanced on manual release. Also call if a door has been hit by a vehicle or has a bent panel that’s affecting the seal, because panel alignment affects the whole travel system. If the door won’t close at all, that’s an emergency – the garage is open to weather and to anyone who wants to walk in. Fall River Garage Door Repair Co offers free estimates in Fall River, and we work on Genie, Clopay, Amarr, Wayne Dalton, LiftMaster, Chamberlain, Craftsman, and Raynor equipment. Our technicians have up to 11 years of experience. Call (866) 819-6714.
Frequently Asked Questions
Typical garage door repair in Fall River runs from about $150 for a sensor or adjustment call to $600 or more for a matched-pair torsion spring replacement with opener service. The written estimate sets the final price, and the price is quoted and agreed before work starts. The exact number depends on the door’s weight, the spring type, and whether the repair involves the opener. Call (866) 819-6714 for a free estimate.
Same-day service is available for most repair calls in Fall River. Emergency calls – a door that won’t close, a snapped spring, or a door stuck open – get priority because of the security risk. Call (866) 819-6714 and we’ll tell you what the day looks like.
No. We diagnose the problem, quote a price, and get your agreement before any work starts. If we find additional problems during the repair, we stop and discuss them with you rather than proceeding. The price you agree to is the price you pay for the work we agreed to do.
Yes. The local professionals we connect you with are licensed and insured as their state requires, and they work on the eight major brands – LiftMaster, Chamberlain, Genie, Clopay, Amarr, Wayne Dalton, Craftsman, and Raynor. That matters for spring work in particular, which is one of the more dangerous repairs in home maintenance. Call (866) 819-6714 for a free estimate.
Cold-weather grinding usually means a roller bearing or a torsion drum has lost its grease and contracts in low temperatures. The problem often disappears in warm weather, but the wear underneath doesn’t. Have the rollers and drums inspected before it turns into a bigger repair. Call (866) 819-6714 for a free estimate.
Most “dead” openers are a failed capacitor or a limit switch problem, not a dead motor. In our experience, a majority of no-move calls need a diagnostic before replacement. We test the capacitor, motor, board, and safety reverse separately. Call (866) 819-6714 for a free estimate.
The Bottom Line
Garage door problems follow patterns. Grinding points to rollers and tracks. Popping points to springs. Scraping points to panels and hinges. A door that stops at the same height on every cycle is a limit switch. A door that stops at random heights is a carriage or force setting. Sensors explain most “won’t close” calls. Match the symptom to the system before you spend money. Fall River’s humid summers and freezing winters wear springs, cables, and hardware faster than the state average, so the inspection is worth doing in spring and again before winter. When the problem is springs, cables, or opener internals, call a trained technician. Fall River Garage Door Repair Co offers free estimates in Fall River – call (866) 819-6714 to schedule yours.
Written by the team at Fall River Garage Door Repair Co.