Last updated November 22, 2026
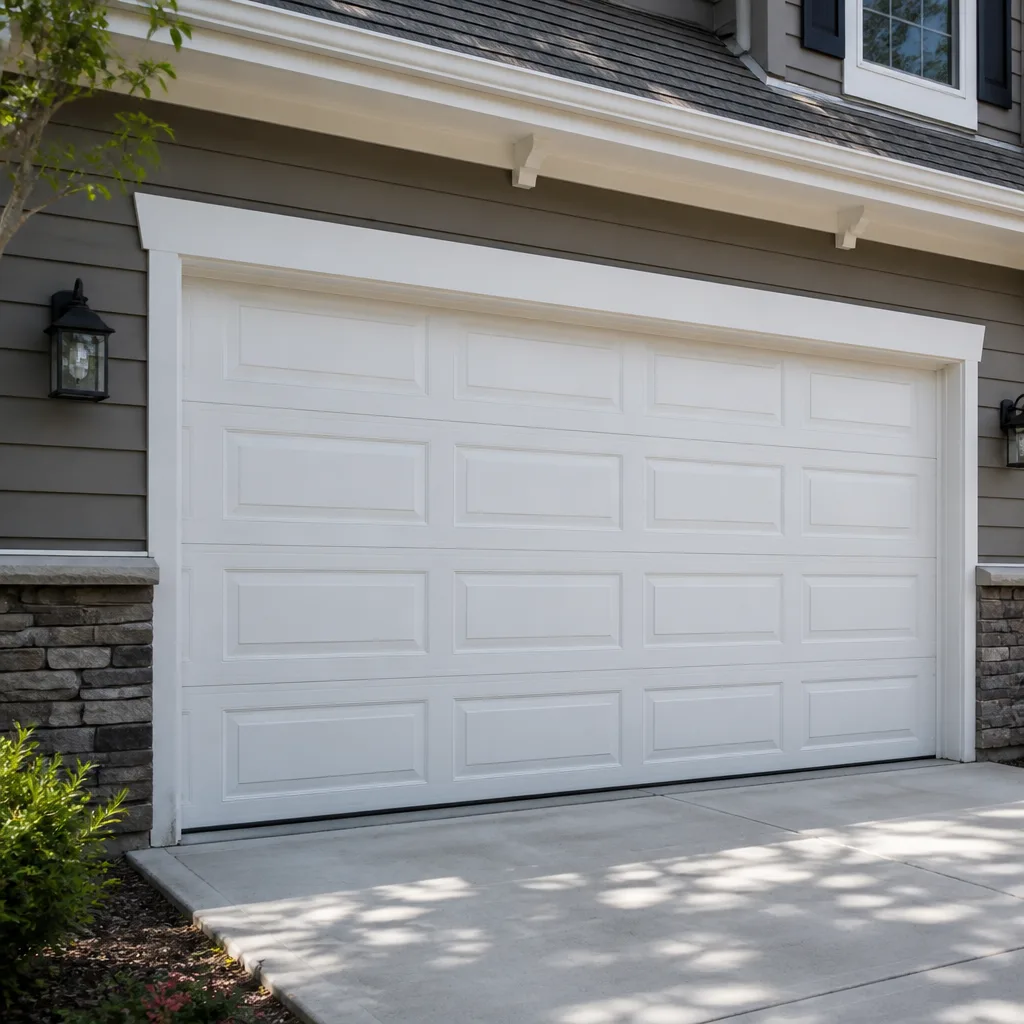 Raised-panel steel
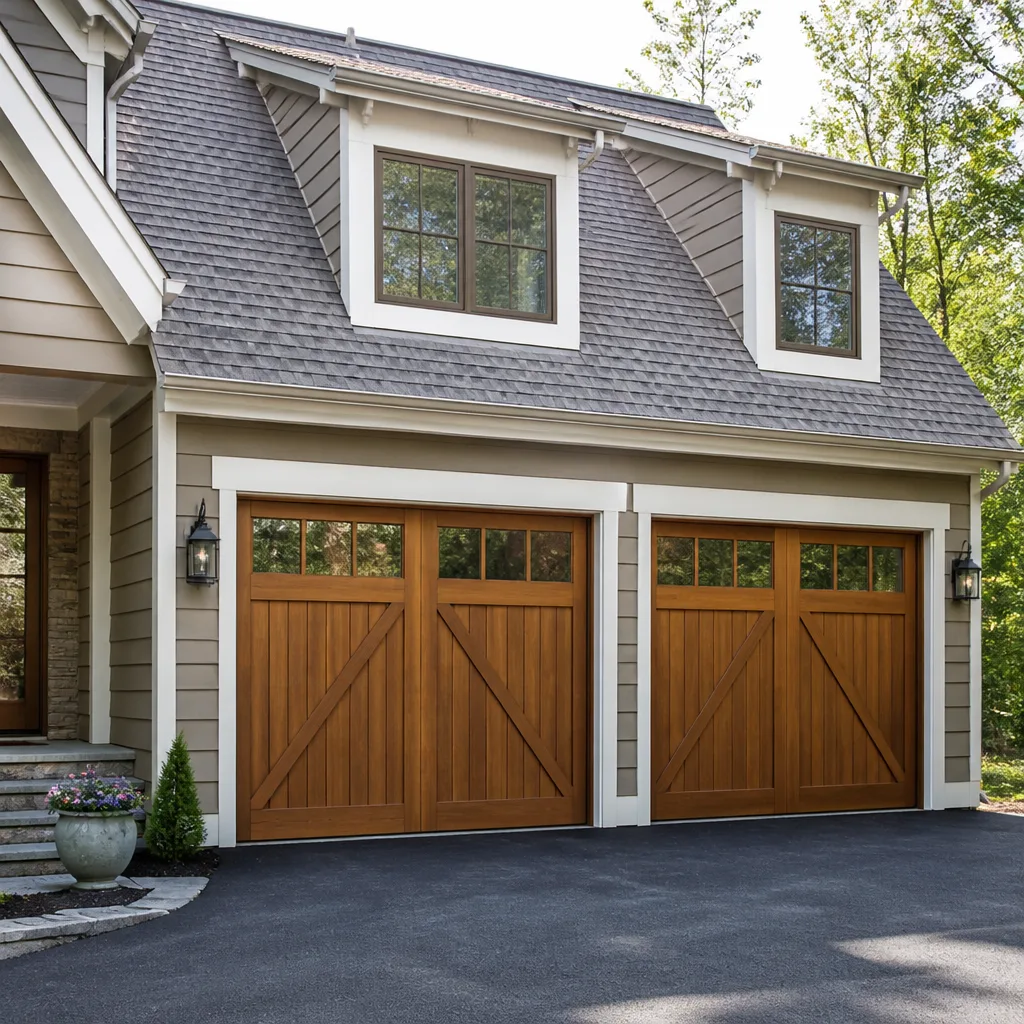 Carriage house
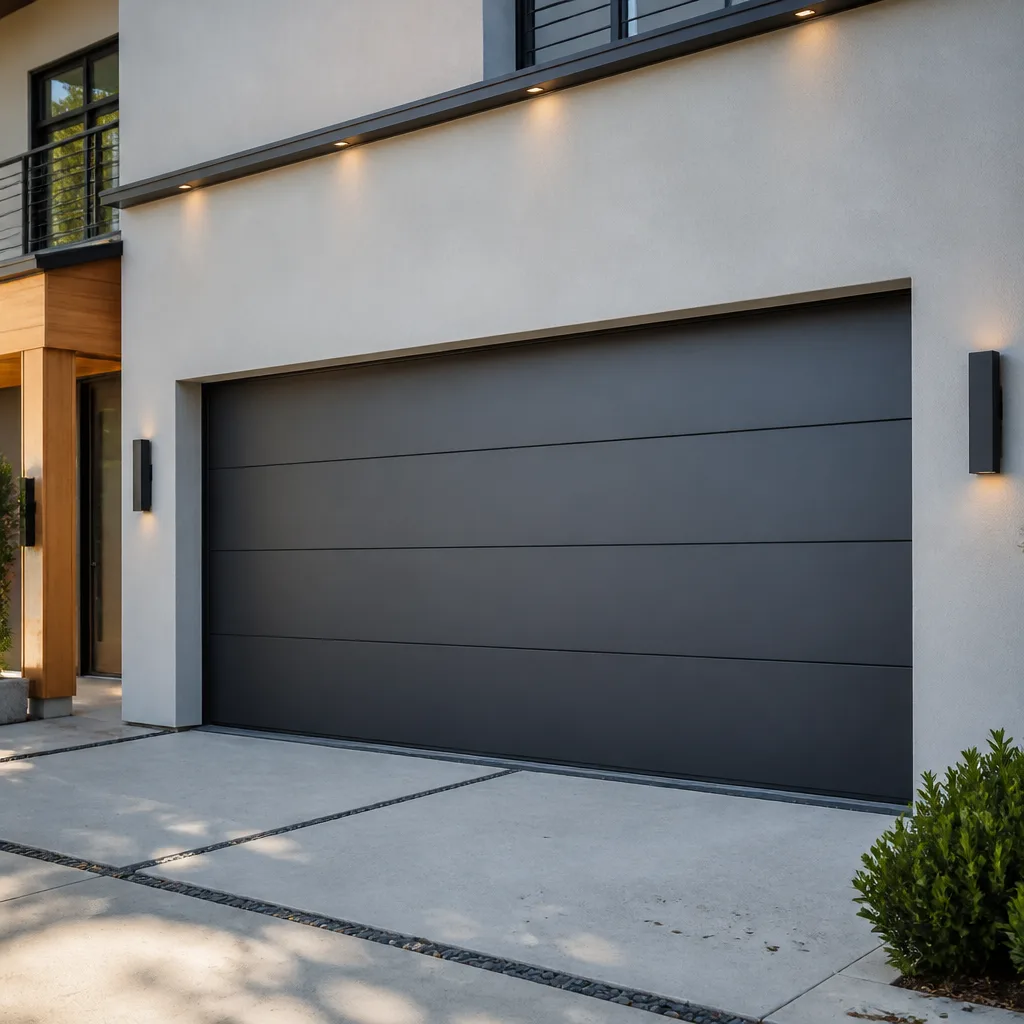 Modern flush
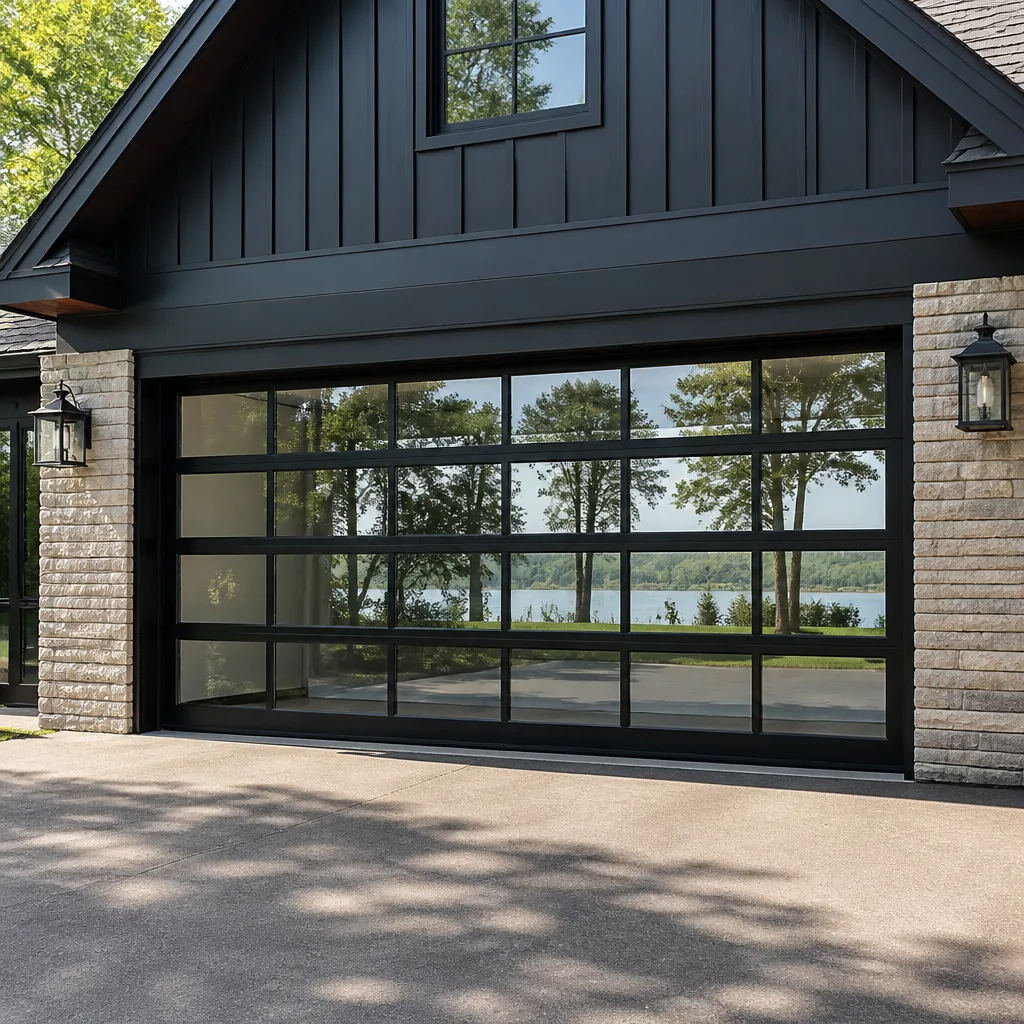 Full-view glass
 LiftMaster openers
 Chamberlain openers
Full 25-point door and opener safety check with every visit - springs, cables, rollers, tracks, and your LiftMaster or Chamberlain opener included
You get a price before we start. It does not change when the pro arrives.
Get your free estimateGarage Door Repair Maintenance Schedule: What to Do and When
Your garage door has somewhere between 12 and 15 moving parts, and they don’t wear out at the same rate. Torsion springs, rollers, hinges, cables, the opener drive gear and the weatherstripping all age on entirely different clocks. That’s why one annual “tune-up” isn’t a maintenance plan – it’s a shortcut that misses whichever component is closest to failing. Here’s the schedule we actually use to keep doors working, organized by how each part ages, with the specific intervals that matter in Fall River. You’ll learn what to check monthly, quarterly, twice a year and annually, plus how to document it all so a technician can spot a trend instead of treating every call as a fresh mystery.
Quick Answer
A garage door maintenance schedule should cover the auto-reverse test monthly, cable tension and roller wear every three months, spring balance and weatherstripping twice a year, and a full hardware torque check once a year, with lubrication applied seasonally. Torsion springs carry a rated cycle life of about 10,000 cycles, and the average homeowner opens the door roughly 1,500 times a year, so rhythm and lubrication directly affect how many months of life a spring has left. Skipping a lubrication season shortens spring life; the schedule below ties each task to the part it protects.
Styles & brands we work with
- Raised-panel steel
- Carriage house
- Modern flush
- Full-view glass
- LiftMaster openers
- Chamberlain openers
Table of Contents
- Why a Generic Tune-Up Misses What Fails First
- Monthly Checks: The Auto-Reverse Test and What It Protects
- Quarterly Checks: Cable Tension and Roller Wear
- Twice-a-Year Checks: Spring Balance and Weatherstripping
- Annual Hardware Check: Torque, Fasteners and Opener Health
- The Right Lubricant for a Garage Door in Fall River
- Seasonal Prep for a Southeastern Massachusetts Climate
- What to Document After Every Inspection
Why a Generic Tune-Up Misses What Fails First
A single visit that oils the springs and calls it done feels thorough. It isn’t. The components on a garage door sit at very different points on their wear curves, and the ones that fail without warning are often the ones a yearly oiling never touches. Rollers crack at the stem before they visibly deform. A cable can stretch a fraction of an inch a year, and that amount slowly drags the door out of level. The opener’s drive gear wears at a rate that has nothing to do with how often you lubricate the spring.
So a real schedule assigns tasks to intervals based on how each part ages, not on how convenient it is to do everything at once. The rough guide:
- Fast wear, safety-critical: auto-reverse, lift force, photo-eye alignment. Check monthly.
- Medium wear, load-bearing: cables, rollers, hinges, track alignment. Check quarterly.
- Slow wear, balance-critical: spring tension, bottom seal, weatherstripping. Check twice a year.
- Slow wear, structural: fasteners, anchor points, opener drive train, panel condition. Check annually.
This is the difference between a maintenance schedule and a maintenance visit. A visit is a snapshot – a plan is a pattern of snapshots, each one compared to the last. That comparison is where the real value sits, because a technician who can see the trend can recommend a spring replacement before the door stops coming up at all. Around Fall River, where many homes were built decades ago with doors that have been cycled thousands of times, a consistent pattern of checks is what actually gets you ahead of the breakdown.
Monthly Checks: The Auto-Reverse Test and What It Protects
The single most important monthly task is the auto-reverse test, because it’s the one safety function on your door that silently stops working without ever showing a symptom. A door that closes on a child or pet is a serious injury risk, and the federal standard every opener made since 1993 is built around that reverse function working correctly. Testing it takes under a minute and you can do it yourself.
Here’s the standard test:
- Place a 2×4 flat on the floor in the middle of the door’s path – most manuals call for a piece of wood about 1 to 1.5 inches high.
- Close the door using the wall control (not the remote, so you can watch it go down).
- The door should contact the wood and reverse to a fully open position within a couple of seconds.
- If it presses down and stays, or doesn’t reverse, stop using the automatic close and call for a technician.
Then check the photo-eye safety sensors at the bottom of the tracks. With the door open, wave an object in front of one sensor; the opener’s light should blink or the door should refuse to close. Clear away spiderwebs, leaves and anything the Fall River wind has blown in and wedged against the lens – a dirty sensor that trips intermittently is one of the most common “my door won’t close” calls we get.
Also glance once a month for anything obviously off: a roller that looks out of its track, a hinge that has started to pull away from the panel, oil streaks on the floor. You’re not fixing anything yet. You’re watching for changes. That two-minute scan is what makes the quarterly and annual checks worth doing, because you’ll already know where to look.
Quarterly Checks: Cable Tension and Roller Wear
Every three months, look at the parts that carry the door’s weight. Cables and rollers are the two that quietly drift out of spec over a season and cause most of the “the door sounds different” complaints we hear in Fall River.
Cable tension. With the door closed, stand to one side and look at the cables running from the bottom brackets up to the drum. They should be taut, straight, and running along the same path on both sides. What to look for:
- Loose cables that sag or sit off the drum – a sign of a stretched cable or a drum issue.
- Frayed strands or a cable that has started to birdcage near the bottom bracket.
- A door that looks visibly higher on one side than the other when fully closed.
Cables are under serious tension, and a failing cable can snap with real force. Do not loosen, adjust or remove a cable yourself. Check and report – leave correction to a trained technician.
Roller wear. Rollers usually fail at the stem or by going flat, not by looking obviously broken. Nylon rollers should spin freely and look round; steel rollers can develop flats or a dry bearing. Push each roller lightly in its hinge with your finger to check for play, and look along the track for a roller that’s worn oval. Worn rollers grind, and grinding accelerates track wear. If a roller is rough or loose, replace it – it’s a cheap part with an outsized effect on how the door runs.
While you’re down there, wipe the tracks with a dry cloth and pick out any grit. Never grease the tracks themselves – lubrication on the vertical and horizontal track attracts dirt, which clogs rollers. This is a point worth repeating, because it’s the most common mistake homeowners make when they decide to “do maintenance” with a can of spray and no plan.
Twice-a-Year Checks: Spring Balance and Weatherstripping
Twice a year, run the balance test and check the seals. This is where you learn whether your springs are carrying their share of the load and whether your door is sealing against the weather.
The balance test, done correctly. Most people get this wrong by testing with the door at the wrong point or with the opener engaged.
- Pull the emergency release cord to disconnect the opener from the door.
- Close the door fully, then lift it with one hand slowly until it’s about halfway up.
- Let go. The door should hold its position, or drift only slightly.
- Repeat at the fully open and fully closed positions.
What a failed result actually means: if the door drops on its own at the halfway point, or you have to strain to lift it, the torsion spring has lost tension or the balance is off. It is not a sign the opener is weak. Never assume a stronger opener will fix a door that won’t hold itself up – if the springs aren’t doing their job, the opener is carrying weight it was never designed to lift, and it will wear out faster. Reconnect the opener only after you’ve closed the door fully.
Weatherstripping. Run your hand around the perimeter and under the bottom seal. You’re looking for gaps, brittleness, or a bottom seal that has flattened so far it no longer touches the floor. Gaps let cold air, moisture and pests in – and in this climate, an unsealed bottom edge lets meltwater creep under the door in late winter. Replace the seal when it’s cracked or compressed. This is one of those small jobs that affects your heating, your floor and how loudly the door slams, all at once.
If your balance test keeps failing two seasons running, that’s a signal worth acting on rather than resetting again. That’s the point where a technician should look at the springs directly – see our garage door spring repair page for what’s involved and how the work is approached.
Annual Hardware Check: Torque, Fasteners and Opener Health
Once a year, go through the whole system for a full torque check. You don’t need a torque wrench for a visual, hand-level check – you’re looking for loosened fasteners, worn hinges and an opener that’s starting to complain.
- Run a hand over every hinge, the center bearing plate, the jamb brackets and the bottom brackets. Check bolts and lag screws for looseness or movement. Loose bottom brackets are a particular concern: they hold the cables that carry the door’s weight, and they should not shift when you push on them.
- Inspect hinge leaves for cracks and wear. Worn hinges cause the door to sag between panels.
- Look at the opener rails, chain or belt. A chain with visible slack or a belt with glazing needs attention; a drive that runs with a clunking rhythm usually signals a worn gear.
- Test the opener’s force-sensitivity setting if your model allows it – the door should still reverse when it meets modest resistance.
- Sight along the door from below with it open. Panels should be flat. A sagging panel or one that’s out of alignment is a structural warning, not a cosmetic issue.
The annual check is the right moment to bring in a technician. Our technicians have up to 11 years of experience, and they can read the noise, sound and movement patterns across all eight of the major brands we service – Genie, Chamberlain, LiftMaster, Clopay, Amarr, Wayne Dalton, Craftsman and Raynor. Brand-specific knowledge shortens diagnosis, gets the right part first time, and keeps your manufacturer’s warranty intact. See the garage door opener repair and garage door repair pages for details on what we cover.
The Right Lubricant for a Garage Door in Fall River
Lubricant choice matters more than most maintenance guides admit. The wrong product attracts dirt, gums up in cold weather and can slow the door down instead of protecting it. The short answer: use a lithium-based grease or a dedicated silicone spray on moving parts, and keep WD-40 out of the torsion spring assembly. WD-40 is a penetrating oil and light solvent, not a lasting lubricant – it’ll quiet a squeak for a day and then leave the spring drier than before. Lithium-based grease sticks where it’s applied, resists washout and keeps working through a Massachusetts winter.
Where to apply it, and where not to:
- Torsion springs: a light coat of lithium grease along the coils slows friction between the wraps. This is one of the parts that rewards regular attention most.
- Hinges and rollers: a small shot of silicone or grease at each hinge pivot and roller bearing.
- Bearing plates and the center bracket: a light smear where the torsion tube passes through.
- Never on the tracks. Tracks stay dry and clean. Grease on a track catches grit and turns into an abrasive paste.
- Never on the photo-eyes or rollers’ outer tire. Keep the lens clear and the roller surface clean.
In this climate, aim to lubricate before the cold sets in and again in spring. Cold-thickened grease on dry springs is one of the reasons doors get stiff and noisy around January. Southcoast winters are damp and often freeze-thaw at the door’s bottom edge, so getting a fresh coat on the springs and hinges before the first hard freeze pays back over the whole season. It’s also the cheapest way to extend the cycle life of a spring, and a spring’s rated life is only 10,000 cycles – roughly six or seven years of daily use. Every season you keep it lubricated is a season of life retained.
Seasonal Prep for a Southeastern Massachusetts Climate
Fall River’s weather gives a garage door a specific set of stresses that a maintenance schedule should account for. Damp, freezing conditions in winter, damp springs and falls, and significant temperature swings around the door’s bottom edge all accelerate wear on hinges, bottom brackets and the seal. The good news is that the seasonal prep is short.
Before winter:
- Lubricate springs, hinges and rollers with lithium grease.
- Check the bottom seal for gaps that let meltwater under the door.
- Test the auto-reverse and photo-eyes, because a cold snap is when a marginal sensor fails.
- Look for corrosion on bottom brackets and hinges – the parts closest to the floor take the most moisture.
Before summer:
- Clear tracks of grit and pollen, and recheck rollers.
- Re-run the balance test, since spring tension can change after a winter of hard use.
- Check that the door opens fully – a door that stops short is usually a limit-setting or spring-tension issue.
These seasonal checks are exactly where local knowledge beats a generic national guide. In Fall River, the freeze-thaw around the door bottom is the wear driver, and it hits the same parts every year: the bottom seal, the bottom brackets, the lowest hinges. A schedule that prioritizes those is doing more for your door than one that just tells you to “oil everything.” If you want a professional set of eyes on the seasonal work, our Fall River Garage Door Repair Co team can run the full check and give you a written picture of where the door stands.
What to Document After Every Inspection
Here’s the part almost every maintenance guide skips: the record. A door’s real story is a trend across visits, not a snapshot of one. If you wrote down that the left side of the door was two inches low in March and it’s three inches low in September, that pattern points at a stretched cable or a failing spring. Without the note, a technician sees only the current state and treats it as a fresh problem.
Keep a simple log. For each check, note:
- Date and the door’s overall feel – quiet, noisy, stiff, smooth.
- Result of the balance test at half-open, fully open and fully closed.
- Result of the auto-reverse and photo-eye test (pass or fail).
- Any looseness, fraying, corrosion or visible wear on hinges, cables, rollers and brackets.
- Lubrication applied, and the product used.
- Any change in sound: grinding, squealing, or a single clunk at a particular height.
Bring that log to your next service call, or keep it taped inside the frame of the door. Our technicians use the same approach – they watch for a component that’s drifting over two or three visits rather than isolating one visit. On brands like Clopay, Amarr, Wayne Dalton and Raynor, wear patterns are predictable enough that a documented trend lets us tell you months ahead that a spring or a set of rollers is due, rather than waiting for a failure. That turns maintenance into a schedule with dates and confidence, not a hope.
Common Mistakes to Avoid
- Using WD-40 as a lubricant on the springs. It’s a short-term quiet treatment, not a lasting grease, and it can leave the metal drier than it was.
- Greasing the tracks. Lubricating the vertical and horizontal tracks attracts grit and clogs rollers. They stay dry and clean.
- Assuming a bigger opener fixes a weak spring. If the balance test fails, the door is heavy; a stronger opener just wears itself out faster lifting an unbalanced door.
- Skipping the auto-reverse test because the door “seems fine.” The safety reverse is the one feature that can fail silently and the one that matters most; test it monthly.
- Tugging on cables and brackets to “see if they’re loose.” Cables are under serious tension, and a loose bottom bracket can fail suddenly. Look and report; do not adjust.
- Ignoring the bottom seal during Fall River winters. A compressed or cracked seal lets meltwater under the door, and the resulting corrosion hits the parts you’ll pay most to replace.
- Treating each repair as a brand-new problem. Without a maintenance log, a technician can’t compare this visit to the last one, and you lose the warning that a part is trending toward failure.
See the difference
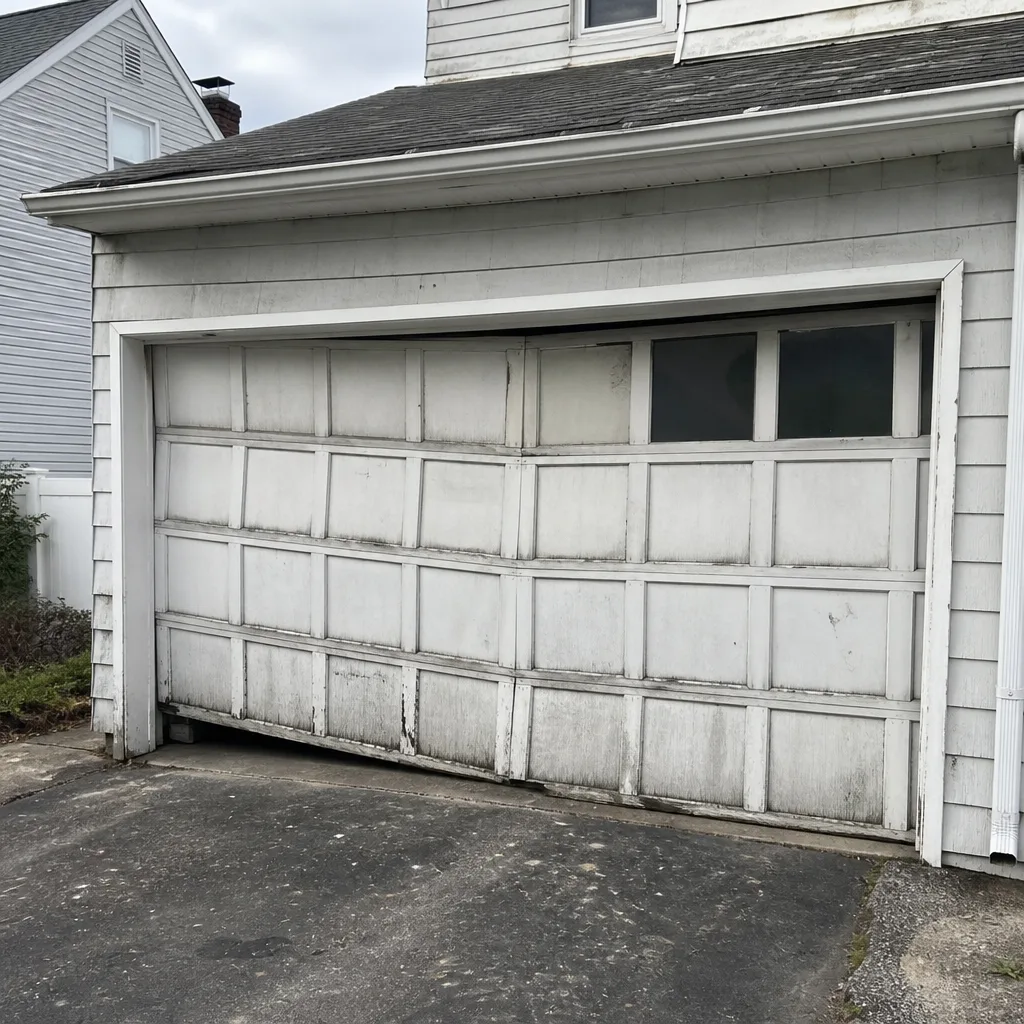 Before
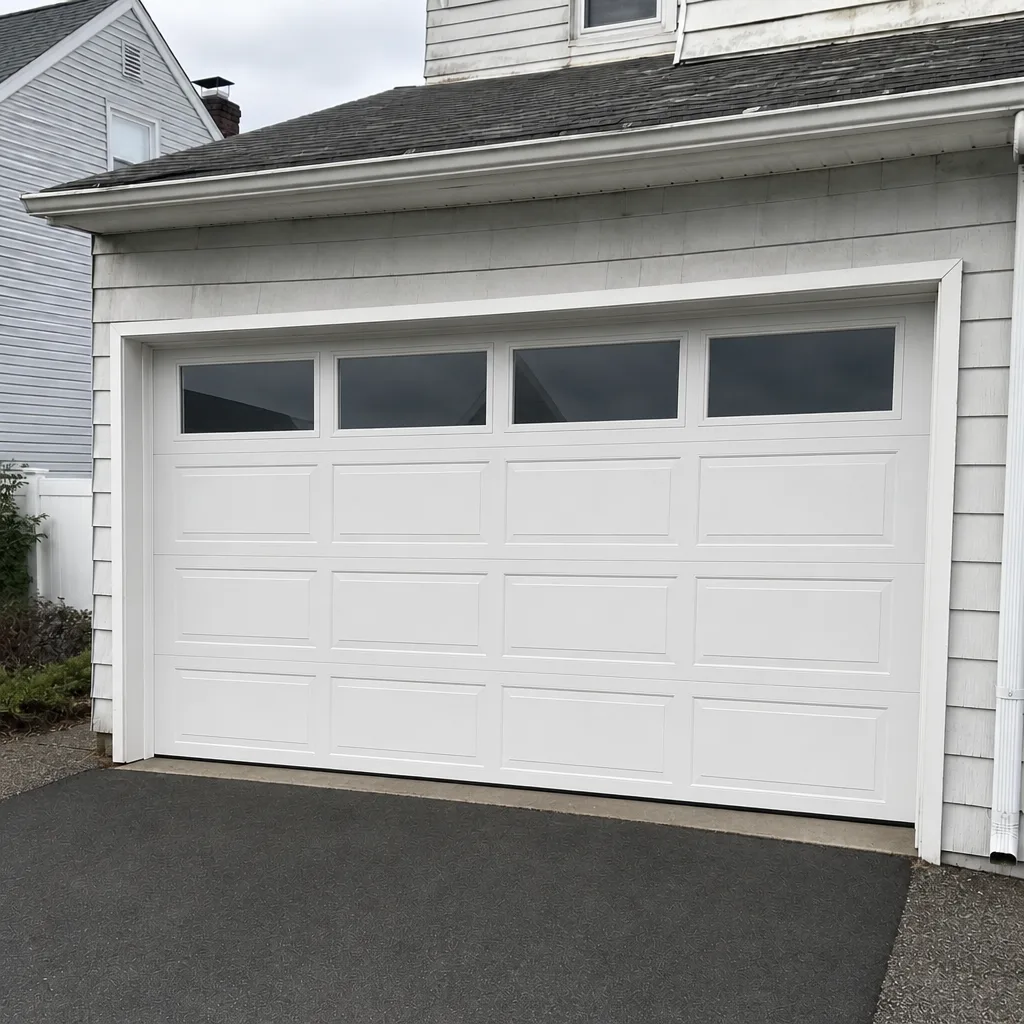 After
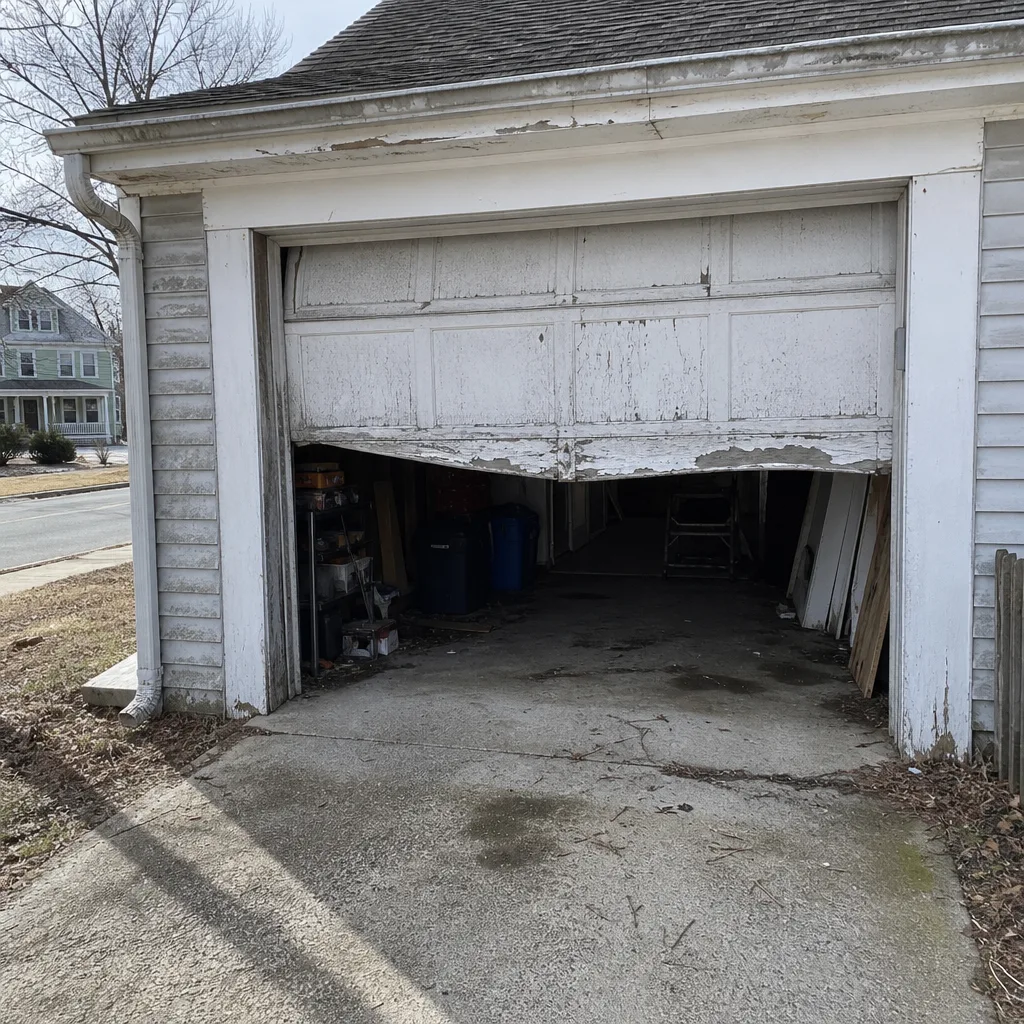 Before
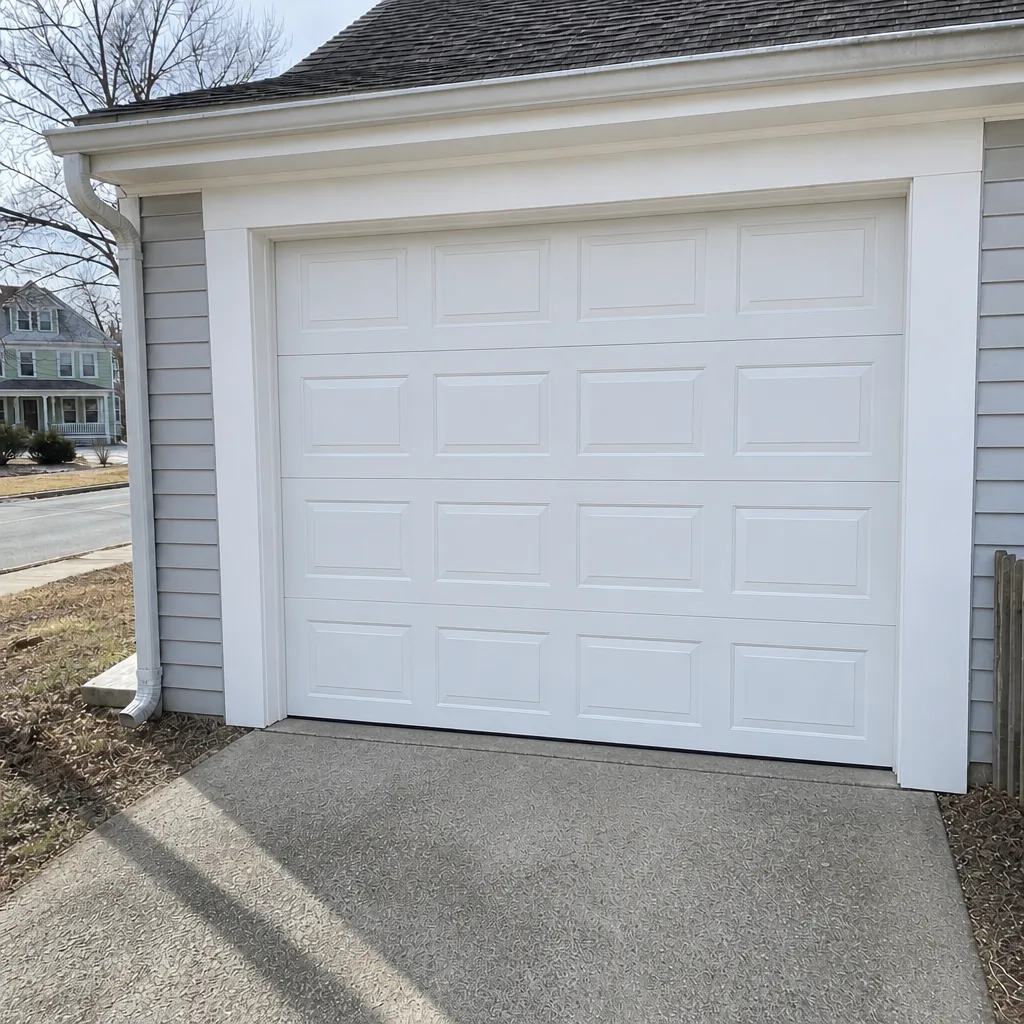 After
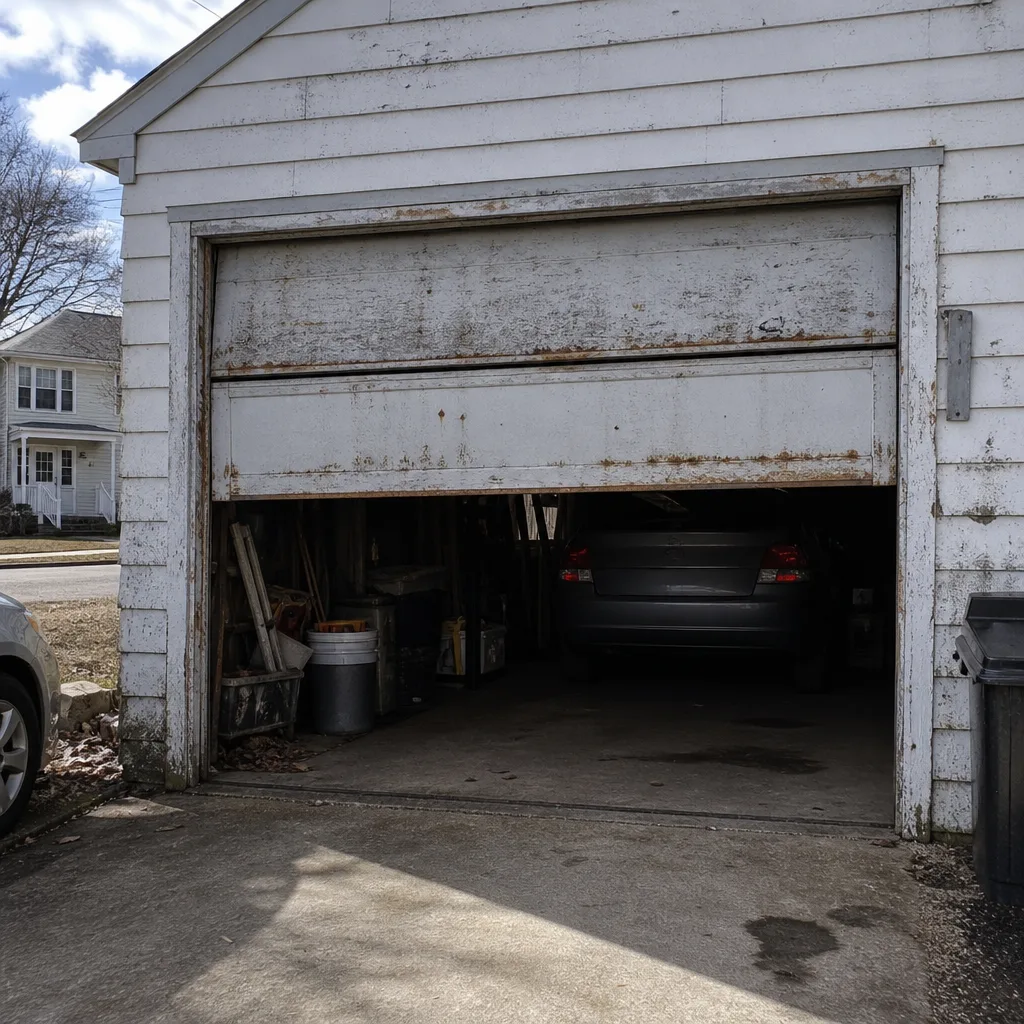 Before
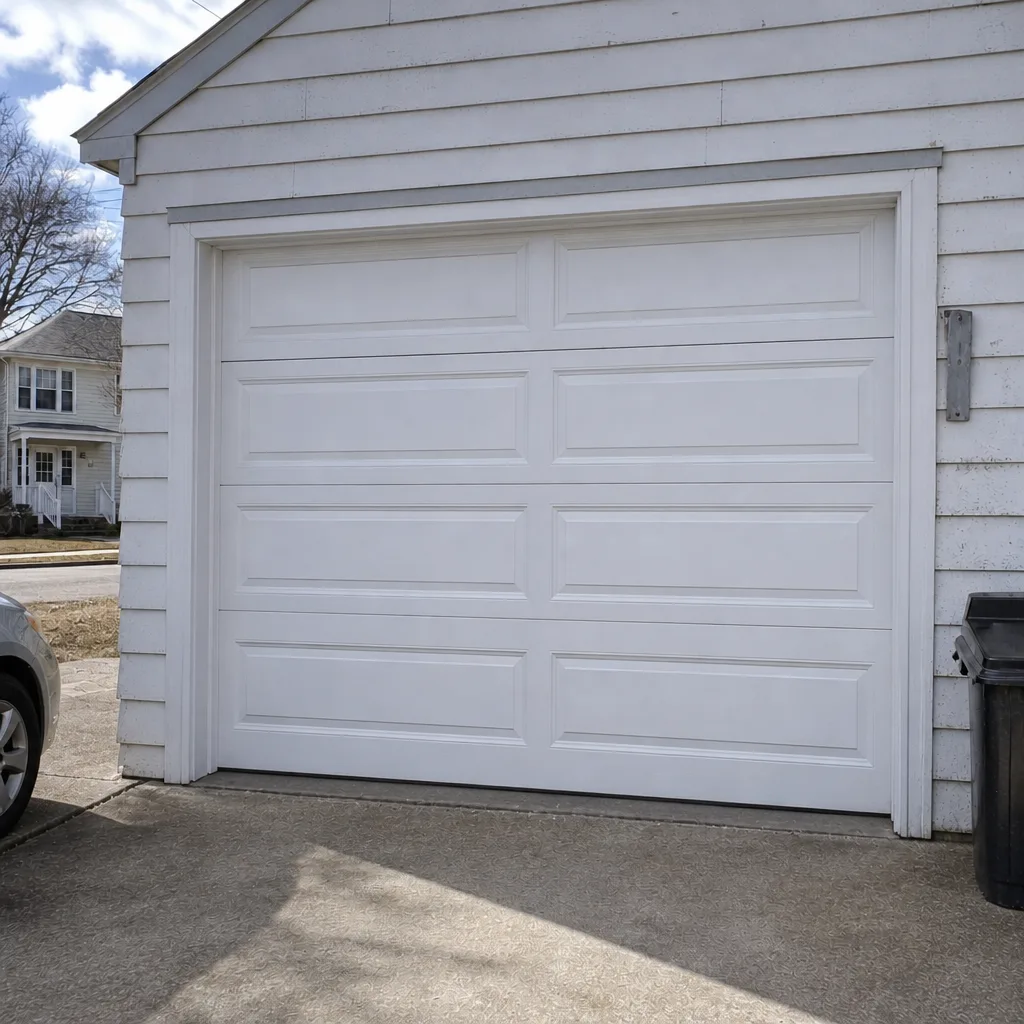 After
When to Call a Professional
Most checks in this schedule are things a careful homeowner can do. The line is drawn at tension, weight and the spring system. Call a professional if the balance test fails twice in a row, if you see a frayed cable or a sagging bottom bracket, if the door is visibly out of level with the opener disengaged, if the door reverses on its own or fails the safety reverse test, or if you hear grinding, popping or squealing from the torsion assembly. Springs and cables are under enough tension that DIY repair is genuinely dangerous, and no schedule should send you there. Fall River Garage Door Repair Co offers free estimates in Fall River – call (866) 819-6714 and we’ll tell you exactly what the door needs.
Frequently Asked Questions
A garage door should be lubricated twice a year – once before the cold weather and once in spring – with a silicone or lithium-based lubricant on springs, hinges, rollers and bearing plates, never on the tracks. Skipping a season dries out the torsion spring and shortens its life. Call (866) 819-6714 if you’d like a free estimate on a professional tune-up.
A failed balance test means the door won’t hold itself up when lifted halfway with the opener disengaged, which almost always points to a torsion spring that has lost tension or a cable that has changed. It does not mean the opener is weak. Call us for a free estimate before the opener takes on weight it wasn’t designed to lift.
Yes, which is why the auto-reverse test should be run monthly. The safety reverse can stop working without any visible sign, and it’s the single safety feature that protects children and pets. Test it with a piece of wood in the door’s path and call (866) 819-6714 immediately if the door doesn’t reverse.
No – a yearly tune-up misses the components that fail mid-season. Torsion springs, cables, rollers and weatherstripping age at different rates, so the schedule should split the work across monthly, quarterly and twice-a-year checks as well as an annual hardware inspection. Call (866) 819-6714 for a walkthrough of the full schedule.
A torsion spring has a rated cycle life of about 10,000 cycles, and daily use burns through roughly 1,500 cycles a year, which works out to roughly six or seven years of life. Consistent lubrication and balance checks are the main things that help a spring reach its rated life. Call us for a free estimate when a spring starts to fail.
Usually yes – on a torsion setup, the springs carry the door together and fail together, so a matched pair is replaced at the same time. Pricing is quoted per spring, so a pair costs roughly twice a single spring. Call (866) 819-6714 for an exact quote on your door.
The Bottom Line
A garage door maintenance schedule is a pattern of checks at different intervals, not one annual visit. Test the auto-reverse monthly, check cables and rollers every three months, run the balance test and inspect seam seals twice a year, and do a full torque and fastener check annually. Lubricate with lithium-based grease before winter and again in spring, never on the tracks. Keep a log so a technician can read the trend instead of the moment. Do that consistently in Fall River, and you’ll catch the failures that matter before they strand your car or leave you with a door that won’t close.
Call Fall River Garage Door Repair Co at (866) 819-6714 for a free estimate. We work on every major brand across the whole door system – springs, openers, panels and new installations – and one call covers the whole door.
Written by the team at Fall River Garage Door Repair Co.